


I recently spent time improving my 3D skills with a Pikmin fan art! Let’s break it down through this post-mortem blog post.
I had this particular bond with this amazing licence for a long time, and I was looking forward to achieving something about it for a while, so I took the opportunity to get this done during my last vacation. Hundreds of coffee cups later the last render was done and ready for post-production! Today I am more than happy to share my progress on various new topics covered during this accomplishment. This is also my first post in English.
One of the goals was to improve my workflow by introducing new software such as ZBrush or Substance Painter in the loop. Another focus was to build a picture that says something. Instead of producing a cold and dead render of a couple of nice 3D objects I tried to bring a glimpse of life in the whole thing. This time, I really wanted to tell a little story. I do not know if this went right, but at least I am standing on a better track for the next one. This project taught me a couple of things.
Before digging in, I would like to thank Sylvain Klein who encouraged me and asked me to share with him my achievements on a daily basis. He helped me through enjoyable chats and useful piece of advice during this learning journey. Please take a look at his YouTube channel where he shares feedback and thoughts about his artist life!
Modeling
I’m still a ZBrush newbie, but I quickly moved from ‘’CORE’’ to full licence after seeing this new ZModeler tool that the development team introduced in ZBrush R7 (2015). This feature reduces back and forth between other third-party applications and ZBrush is close to become ‘’the’’ 3D software masterpiece who can cover mostly all CGI artist needs. ZModeler was a great help to get all hard surfaces modeling done. I am really into this ZBrush modeling trend.

Basically there is nothing you can’t achieve with a ton of polygons right? And that’s the usual way of achieving a concept art in ZBrush, you basically start by throwing buckets of polygons and at some point you will refine the whole thing. I am still struggling to do hard surface modeling without taking care of my polygon count from the start and here again, ZModeler was a great tool to keep things under control. Regarding captain Olimar, all his suit equipment as well as his face was done with this brush. Yeah every tool is a brush, and brushes aren’t called tools anymore in ZBrush, and it’s kind of weird when you start playing with this tool.
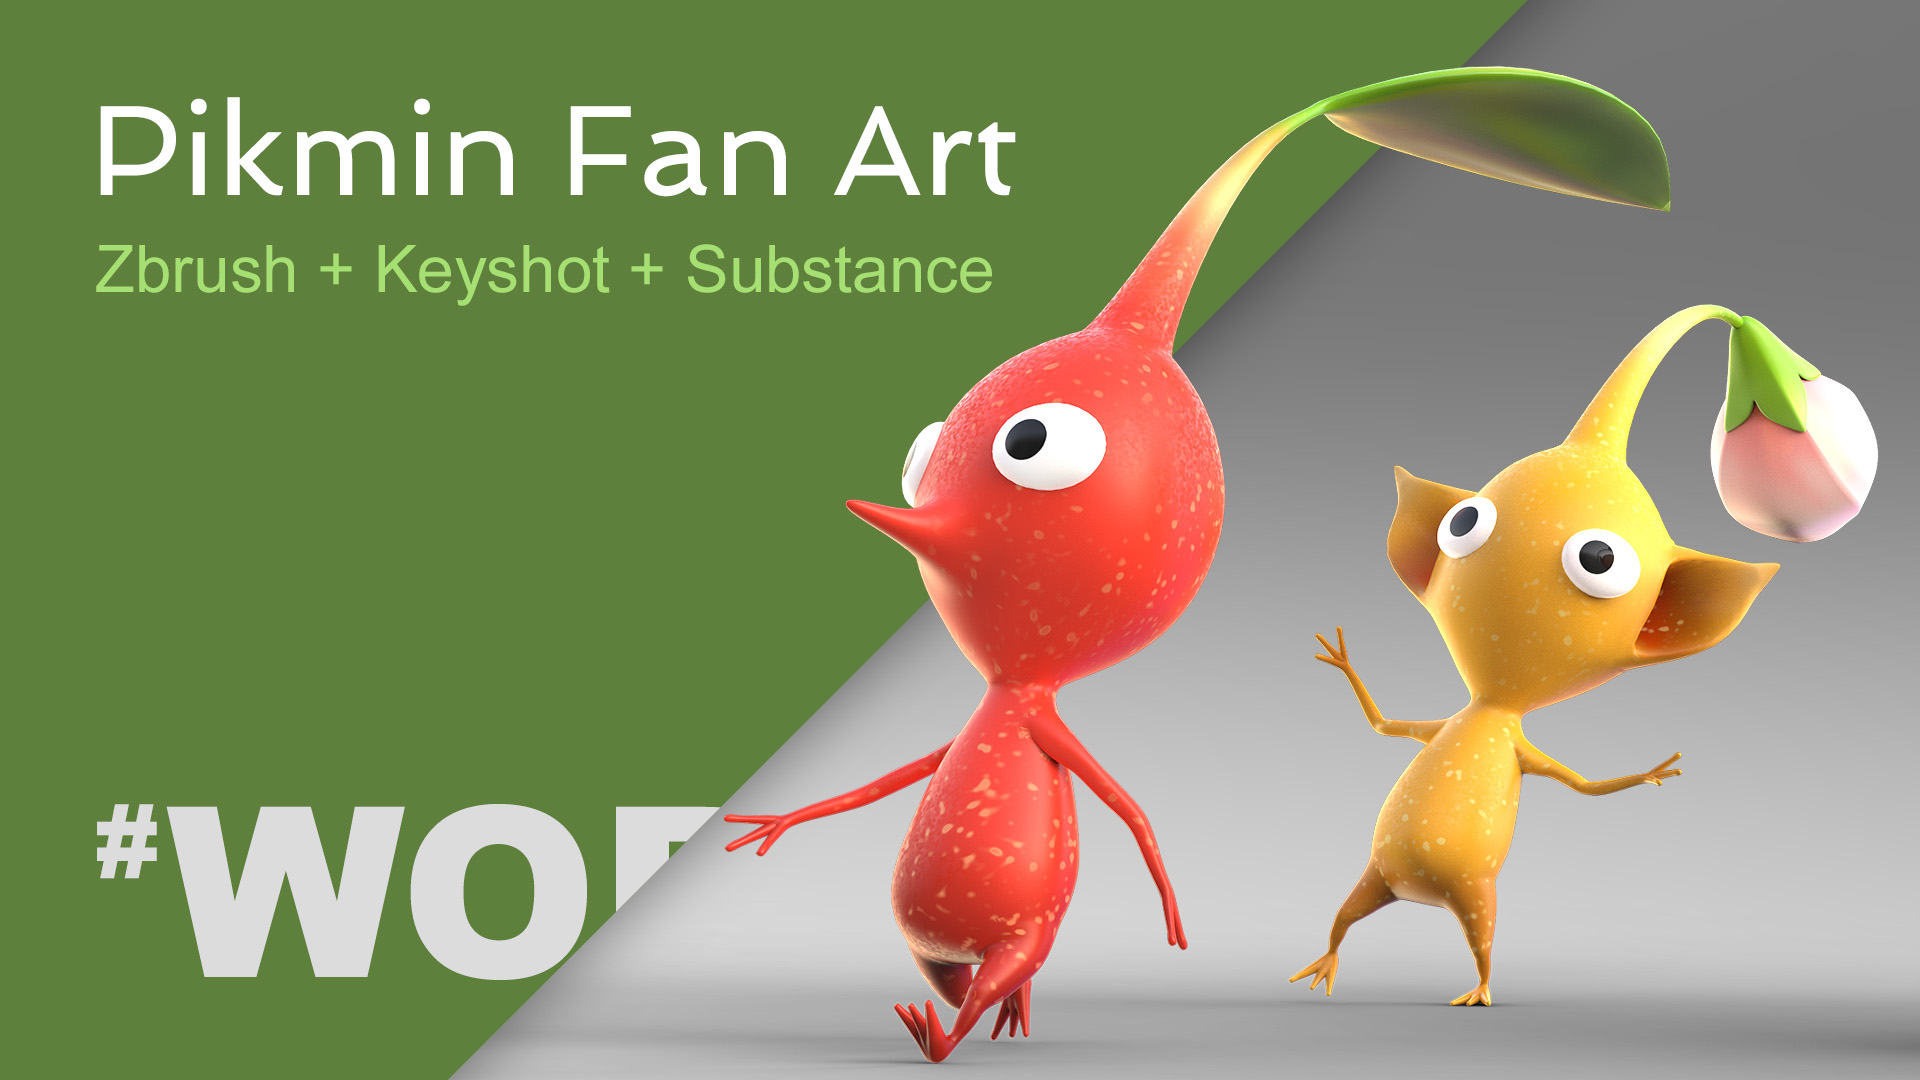
Regarding my Pikmins, the building process was a bit different, I started from a ZSpheres structure before switching it to an adaptive skin with the lowest resolution possible. ZSpheres are great to quickly turn around and mess with ideas before fixing that skeleton into base mesh to work with. It was quick and easy to sculpt details over it and I used the same model to get all the variations done. I kept the ZSpheres structure in my scene for a while in case getting back to this modeling step was needed. I wasn’t sure how many Pikmin models would be required for my project. At this time I was focusing my efforts on my characters only. The final shot structure was fuzzy then, and the landscape type I wanted to design would pop later on in my head.
Speaking of which, I came up with this open cavern landscape full of lava on one side, and standing crystals on the other one, and to get this part done I first built a very low polygon mockup that helped me to control light interactions in KeyShot.
Having the complete scene mockup set in place helped me during the stone wall modeling phase. Each new sculpted rock would have changed the look and feel of this background especially the biggest ones. Step by step I fine-tuned this rocky wall with a lot of back and forth between ZBrush and KeyShot to render check purposes. Regardless of this process which seems boring, I managed to get something ready for texturing pretty quickly, thanks to those useful and time saving Orb brushes.
Maps and Shaders
As I said earlier, I used new tools for this project and Substance Painter was one of them. I saw for months great artists using either Substance Designer or Substance Painter to accomplish stunning artworks and after a one-hour-long tutorial I was ready. Substance Painter is really simple to use and I managed to get all my maps done in no time. By no time, I mean far less time than years ago when you had to go back in Photoshop and back again in your 3D program to get your visual feedback. Real-time interactions is a big deal right?
With this Pikmin artwork I tried a lot of techniques that I knew I had to work on, I had read and seen countless videos and quick tips about those but I never had the time to use all this knowledge. Even the very basics of UV Map unwrapping wasn’t experienced at this time. When I look back on what I delivered, I see so much room for improvement, some of those maps are really bad, some others are quite OK but with one week of free time only, I had to move on.
Some other maps would have been far too big, so I built a custom shader in KeyShot with procedural map especially with ground and walls materials. Another first time with a shader node editor.
For the pentagon-shaped ground I kept some of the generated map from Substance such as occlusion maps and gradient maps. Those went handy to design fake light interactions between lava and the ground material itself. Same tricks used to highlight rocks edges and adding more variation in the wall geometry’s peaks and valleys.
Shot Composition
This is the step where I spent most of my time, fine-tuning the picture layout. I wanted to transmit some duality with soft sand harsh areas. To illustrate the unsafe and deep cavern mysteries I also introduced large shifts in the color palette from one side to the picture from another. I played again with opposites to put emphasis on the hard red light coming from the lava on one side and the soft and blue night sky on the other.
Captain Olimar’s leading the way out while some of the Pikmin’s falls from the cavern’s cliff, opposition and duality again. Once I got everything in place, I launched the final render through a cloud-based render farm. All 4K output render passes went well and I was in a good shape to proceed with post production.
Post-Production and Conclusions
Well, here is my final shot, with fire details, some spider webs, a finished backdrop and additional rim light effects over my characters. In order to read the picture properly I also added fog between plans.
Finally, some dust and noise layers helped me to bring every plan back together. This project took me a lot of time to complete and I hope this process breakdown will help some of you guys. To decide when to stop fine tuning stuff was the most complicated part, people who know me will understand. Feel free share this post.
Downloads
Please find attached various render outputs combined in one zip file.
Download :
47,5 MO
Link : ZIP File | Various render output